Products
Solutions
Resources
9977 N 90th Street, Suite 250 Scottsdale, AZ 85258 | 1-800-637-7496
© 2024 InEight, Inc. All Rights Reserved | Privacy Statement | Terms of Service | Cookie Policy | Do not sell/share my information

When an estimator wants to estimate a scope of work, they can use any available Cost Item Assemblies that have been included in the job. Cost Item Assemblies are employed in the CBS Register in much the same way a resource is employed on a cost item. Cost Item Assemblies can be imported into a project from the Library via the Setup > Job Properties > Cost Basis tab in the same way that resources can be brought in.

Employing cost item assemblies comes after they have been created by a lead estimator typically. Employing an assembly means an estimator selects a specific assembly to insert into the CBS register as if adding a new cost item. The estimator will be prompted to provide all the inputs or accept the default assumptions required for that assembly.
Cost Item Assemblies can effectively be used as a starting point for various components of an estimate. You can import job specific cost item assemblies by navigating to the Setup menu and selecting Setup > Job Properties > Cost Basis > Cost Item Assembly.
You can also import cost item assemblies into the Library the same way as doing it from within a job. You can access the Master Cost Item Assembly Register by navigating to the Library > Cost Item Assembly Register.

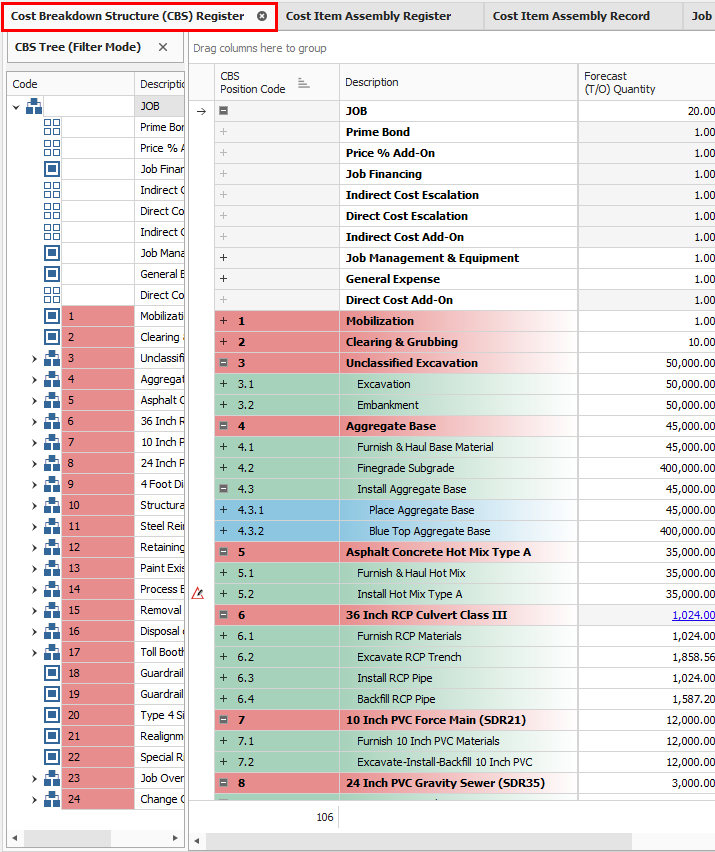
Once your Cost Item Assemblies are created, the cost items must be inserted into the CBS Register. They can be inserted as a subordinate or new cost item anywhere in the CBS hierarchy. To do so, you right click on the position code where you want to place the cost item assembly and select to either insert the assembly as subordinate cost items or as new cost items.
Once the cost items are inserted into the CBS, you can hover over Forecast (T/O) Quantity to see the associated calculation.
Navigate to the CBS Register.
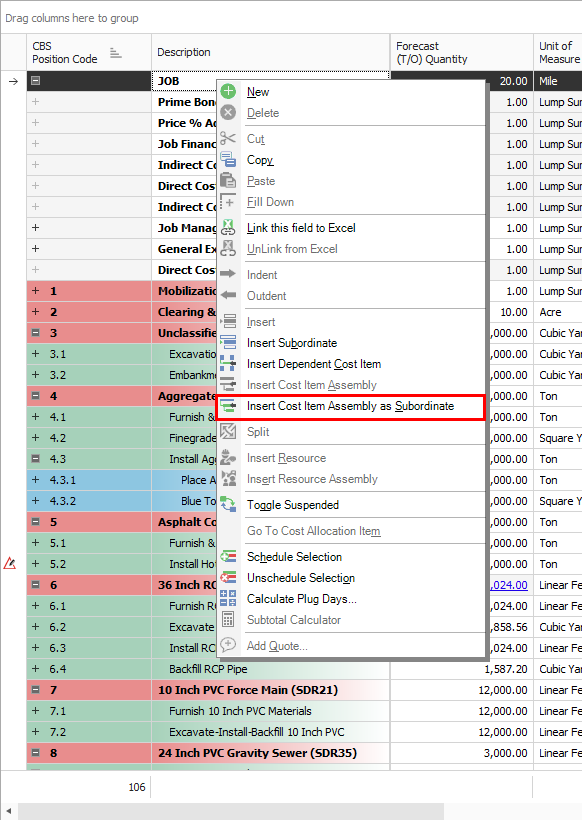
Right click on the first cost item in the hierarchy and select Insert Cost Item Assembly as Subordinate.
Select your Cost Item Assembly, then click OK.
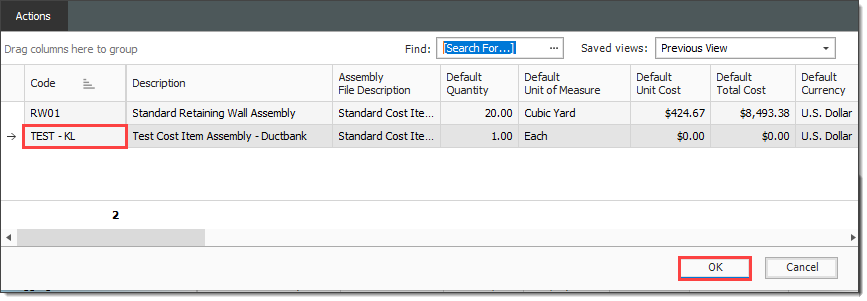
Click OK again.

Your Cost Item Assembly is added to the bottom of the CBS
Employed Cost Item Assemblies are read-only cost items in the CBS register, but the inputs that were provided by the user to create the cost items can be modified to update the resulting cost items. If you change one variable in the cost item assembly, it will automatically update all associated cost items.
You can update the values of an Employed Cost Item Assembly in two ways:
From the CBS Register
From the Cost Item Assembly Register
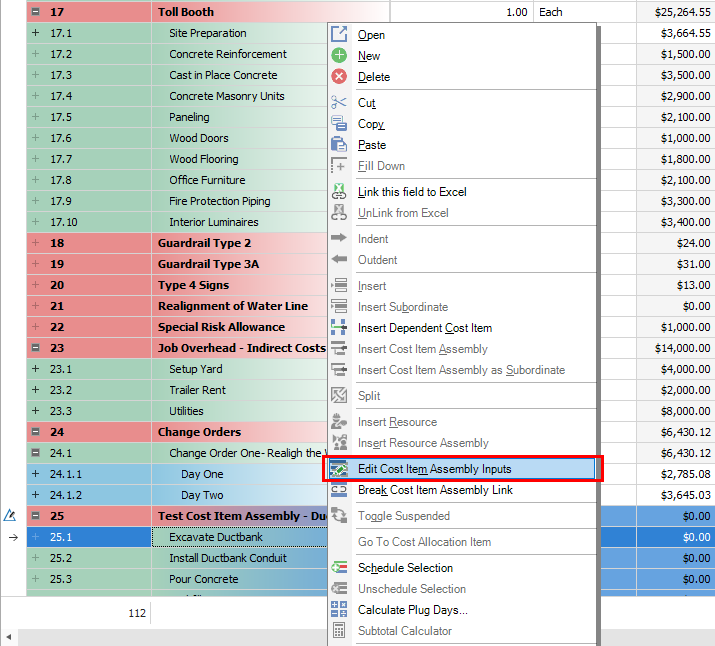
You can edit the entire Cost Item Assembly from within the CBS Register.
Right click on your Excavate Ductbank cost item and select Edit Cost Item Assembly Inputs.
Maximize your screen.
Change the Length input value to 120.
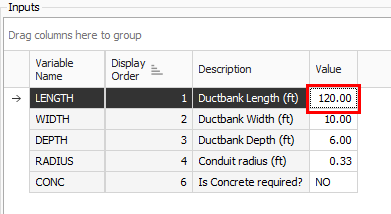
Click OK.

Notice how all the quantities for the cost items using the input Length change

You can navigate back to the Cost Item Assembly Register, select your Cost Item Record, and make any changes there. Once the Cost Item Assemblies have been employed, to update the cost items with any changes made in the Cost Item Assembly Register, you need to go back to the CBS Register to update the cost items. You follow the same steps as above except you do not actually change anything in the edit window, you just click OK to see the updated changes.
The following step by step demonstrates some advanced options within Cost Item Assemblies, such as conditional inputs and functions.
Navigate to your Cost Item Assembly Record.

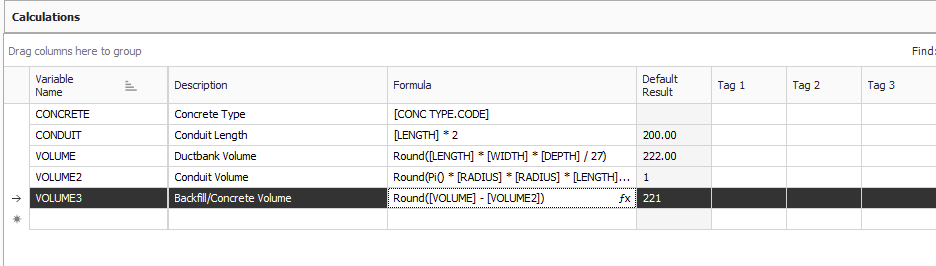
Using the Functions tab, select the Round function and put your existing formula within its parenthesis, then click OK.

You now see a rounded number in the Default Result field
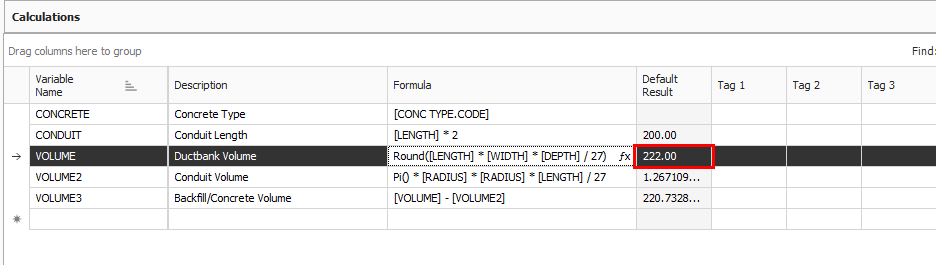
You now see a rounded number in the Default Result field
Create a new calculation. In the Variable Name field, type Include_Conc, enter Include Concrete? in the Description field, then click on the fx button to open the formula editor.
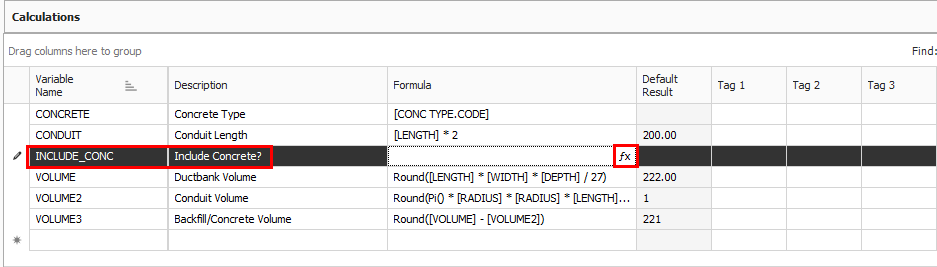
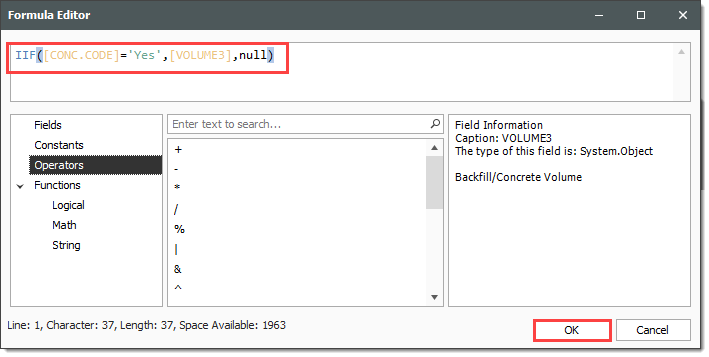
Using the Iif(, , ) function from the Functions tab, and the existing Volume3 calculations from the Fields tab, enter in the following formula, then click OK.
Navigate to the CBS Register.
Right click on one of your cost assembly items, and select Edit Cost Item Assembly Inputs.
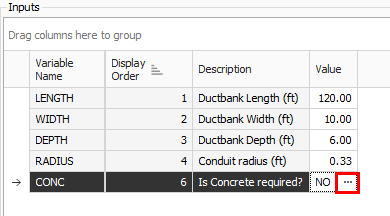
On the CONC input, select the ellipses next to the Default Value.
Select Yes.
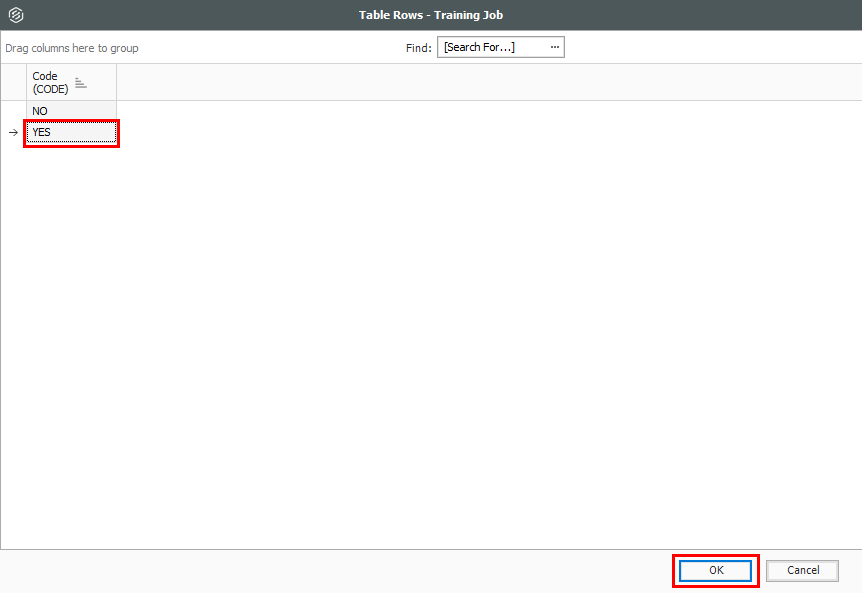
Click OK.
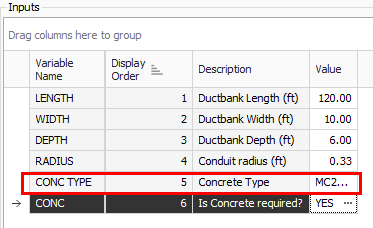
Note how the conditional input CONC TYPE is now displayed
Click OK.
Navigate back to your Cost Item Assembly Record.
In the Cost Items data block, right click on the Pour Concrete Forecast (T/O) Quantity field.

From the ribbon, click the Unlink from Calculation Result option.

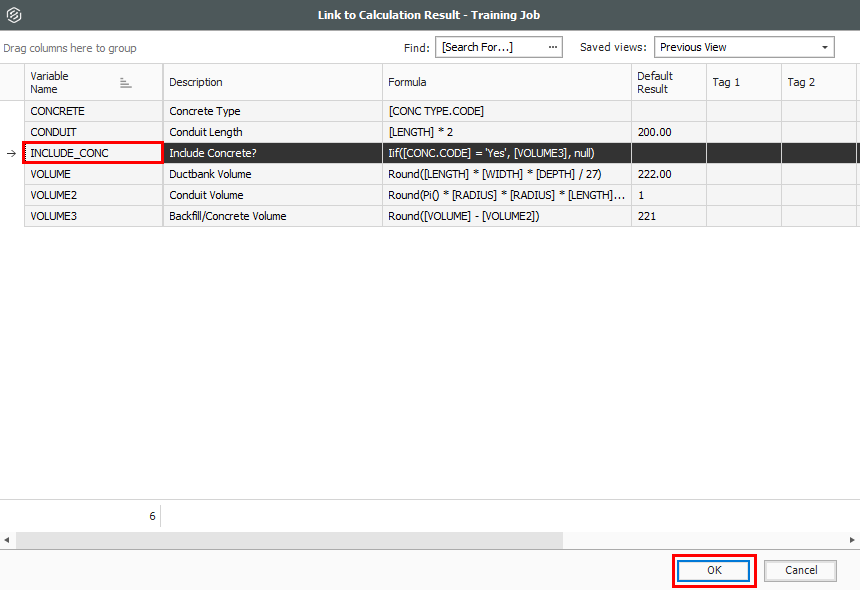
Now click Link to Calculation result.

Select the INCLUDE_CONC calculation, then click OK.
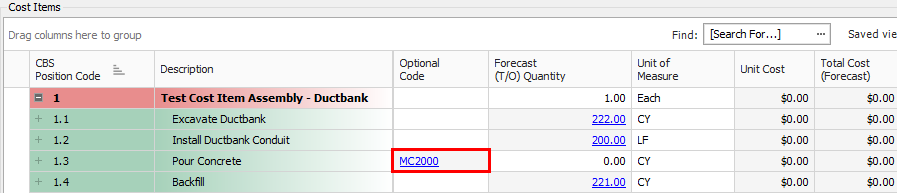
Right click on the Pour Concrete Optional Code field.
From the ribbon, click the Unlink from Calculation Result option.
Navigate to the CBS Register.
Right click on one of your cost assembly items, and select Edit Cost Item Assembly Inputs.
Click OK.
Right click on one of your cost assembly items, and select Edit Cost Item Assembly Inputs.
Change the default value of CONC to No.
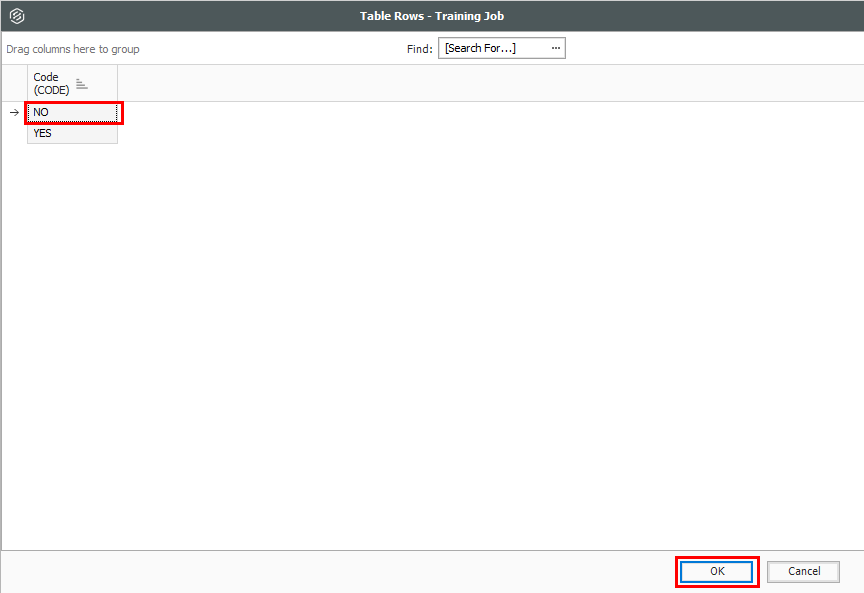
Click OK.
Click OK again.
Notice that your Pour Concrete cost item now disappears

To ensure that the logic used in the calculation of a Cost Item Assembly is retained, employed Cost Item Assemblies are not directly editable in the CBS Register. To customize the results of an employed Cost Item Assembly, you can disassociate it from the originating Cost Item Assembly logic as per the following steps.
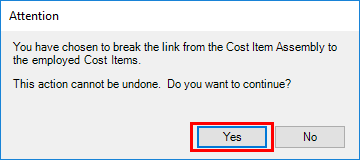
Right click your Excavate Ductbank cost item and select Break Cost Item Assembly Link.

On the resulting Attention prompt, click Yes.
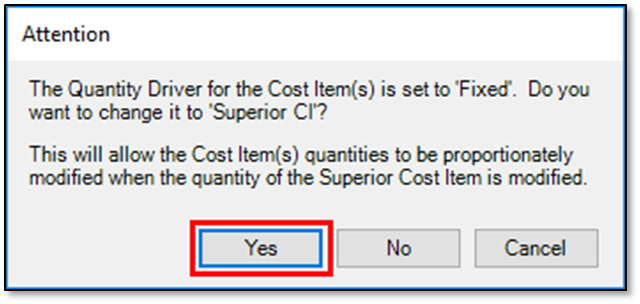
When prompted about changing the Quantity Driver to Superior CI, click Yes.
Note that the hyperlinks disappear, and the link has been broken

Additional Information
9977 N 90th Street, Suite 250 Scottsdale, AZ 85258 | 1-800-637-7496
© 2024 InEight, Inc. All Rights Reserved | Privacy Statement | Terms of Service | Cookie Policy | Do not sell/share my information